.png)
.png)

.png)

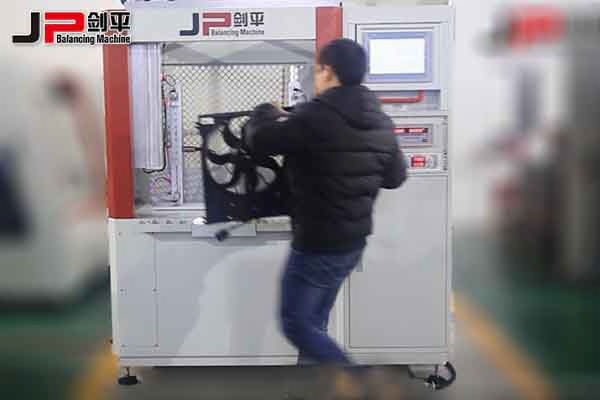
Step 1: Install the prepared car cooling fan on the balancing machine. Pay attention to the line fixed with cooling fans installed.
Step 2: set the parameters, enter the appropriate parameter values, calibration, and measurement. Notice that the value is entered according to the specific situation of the part.
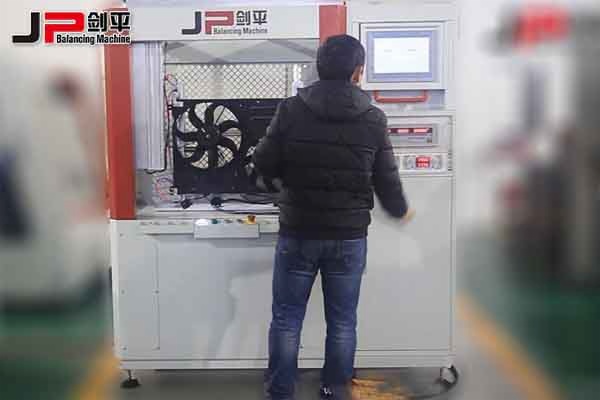
Step 3: At the end of the measurement, check the specific situation on the display. According to the interface prompts, add the appropriate amount of measurement in the corresponding location.

Step 4: Remove the amount of measurement, measurement, detection of unbalanced angle and magnitude.
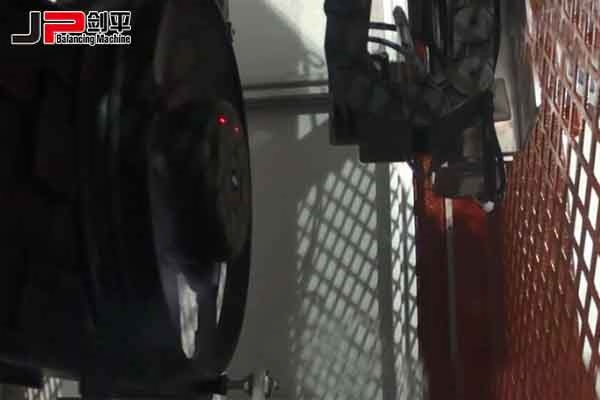
Step 5: In the detection of unbalanced position plus the corresponding unbalanced value, measured. To meet the pre-set dynamic balance requirements, the part balance test processing is completed. Remove the part.

Precautions:
Pay attention to wiring cable when installing the part.
After the unbalance amount has been determined, the add-on weight that will counteract unbalance weight should not been dramatically increasing since the measuring sensor is rigid.